Let’s face it—your headphones get gross.
Earwax, sweat, dust, lint… maybe even that mysterious gunk from your gym bag.
I once pulled out my earbuds after a run and thought, “Wait, is that mold?” (It wasn’t. But it could’ve been.)
Cleaning them feels necessary—but also risky. One wrong move with a wet wipe, and your $200 cans might never speak again.
Good news: you can clean them safely. You just need the right tools, the right technique, and a little patience.
Think of this like giving your headphones a spa day—gentle, thoughtful, and kind.
Note: This guide assumes you’ll pair it with a simple step-by-step image (like a clean workspace with microfiber cloth, soft brush, and dry cotton swabs)—common in web tutorials.
Why Cleaning Matters (Beyond Just Grossness)
It’s not just about looks.
Built-up grime can:
- Block sound ports → muffled audio
- Degrade earpad foam → cracks and odor
- Harbor bacteria → skin irritation or ear infections
- Corrode metal contacts → charging or connectivity issues
I learned this the hard way after my wireless earbuds started cutting out. Turned out, pocket lint had clogged the charging pins. A 2-minute clean fixed it.
So yes—cleaning is part of owning headphones, not just using them.
What NOT to Use (Common Mistakes)
Before we talk about what to do, let’s avoid disaster.
🚫 Don’t use:
- Alcohol wipes (they dry out foam and damage coatings)
- Bleach or ammonia cleaners (corrosive!)
- Paper towels (scratch surfaces and leave fibers)
- Excess water (moisture = enemy of electronics)
- Sharp objects (you’ll puncture drivers or mesh)
I once used a toothpick to dig wax out of an earbud. Never again. Poked right through the mesh. Sound was permanently tinny.
Be gentle. Always.
What You’ll Actually Need
Gather these simple, safe items:
- Soft-bristled brush (a clean toothbrush or makeup brush works)
- Microfiber cloth (lint-free and non-abrasive)
- Dry cotton swabs (for precision)
- Mild soapy water (only if needed—and sparingly)
- Compressed air (optional, for deep crevices)
Most of this probably lives in your bathroom or junk drawer. No special kits required.
Step-by-Step: Cleaning In-Ear Earbuds
Start here if you use AirPods, Galaxy Buds, or wired earphones.
- Unplug or power off your earbuds. Remove tips if possible.
- Brush gently around the speaker mesh with a dry soft brush. Use light strokes outward—never poke inward.
- Wipe the body with a dry microfiber cloth. For sticky spots, slightly dampen a corner with water, then immediately dry.
- Clean ear tips separately: rinse silicone tips under lukewarm water, air-dry fully before reattaching.
- Use a dry cotton swab for the charging case contacts—no liquid near those pins!
If wax is stubborn, let the earbuds sit overnight with the mesh facing down. Sometimes gravity helps loosen debris.
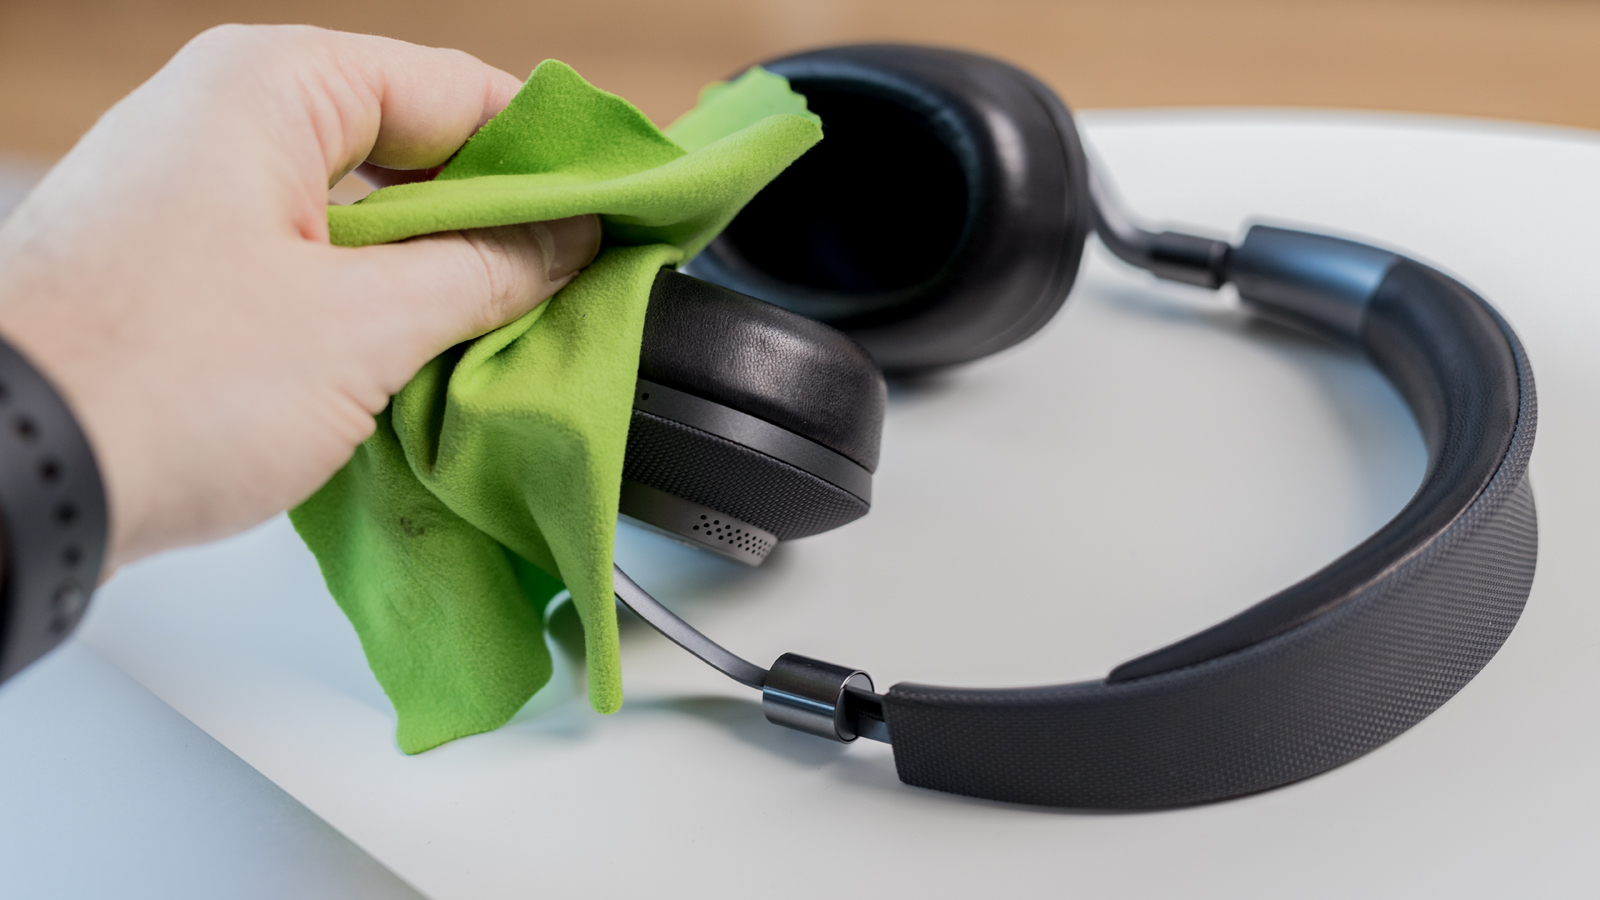
Step-by-Step: Cleaning Over-Ear or On-Ear Headphones
These need extra care around padding and hinges.
- Remove earpads if detachable (check your manual). Many premium models allow this.
- Brush headband and sliders to remove dust and hair.
- Wipe earcups with a dry microfiber cloth. For protein leather or synthetic pads, lightly dampen cloth with water—never soak.
- For fabric/mesh earpads: use a dry brush only. Water can stain or warp them.
- Let air-dry completely before reassembling or wearing.
Never submerge any part. Even “water-resistant” headphones aren’t waterproof inside.
Bonus: Keeping Them Cleaner Longer
Prevention beats deep cleaning.
- Wipe down after sweaty workouts
- Store in a clean case (not your pocket with loose change)
- Wash removable ear tips weekly
- Avoid sharing headphones (yes, really—germs transfer fast)
I keep a small microfiber pouch in my bag just for post-gym earbud wipes. Takes 10 seconds. Saves weeks of buildup.
When to Stop (and Call It Quits)
Some damage isn’t worth fixing.
If your headphones:
- Smell permanently sour (mold in padding)
- Have cracked or crumbling earpads
- Sound distorted even after cleaning
- Are more than 3–4 years old with heavy use
…it might be time to replace them. Hygiene has limits.
And honestly? That’s okay. Tech evolves. Your ears deserve fresh, clean gear.
Final Thought: Treat Them Like Skin
Your headphones touch your body daily. They deserve the same gentle care you’d give your glasses or watch.
No harsh chemicals. No rushed scrubbing. Just mindful maintenance.
Do it once a month, and they’ll sound clearer, feel fresher, and last longer.
Plus—you’ll never have to hand someone your earbuds and whisper, “Sorry, they’re… lived-in.”
Got a cleaning hack that works for you? Share it below. We’re all just trying to keep our audio gear—and ears—happy.